Home Made Ramen 101: How to Build Your Own Bowl of Comfort
Simple steps to take your ramen game from instant noodles to gourmet at home.
Hey food friends! I'm Kaitlynn, half of a food-loving couple exploring DC and beyond who believes the best connections happen around a shared table. Whether you're chasing down that perfect bánh mì or trying to master your grandma's marinara, I'm here to share the dishes (and discussions) that make life more interesting. Come hungry, leave inspired. ✨
We’re diving deep into all that is ramen because it just might be the perfect comfort food for this frigid time of year, and perhaps this moment in time. I’ve always loved it in the same ways as most of my generation and not just because I’ve eaten more than my fair share of it. While working on this series, I remembered a family story that makes my ramen love feel even more personal.
My great-grandparents left California in the 1920s and moved to Japan for a few years. During that time, ramen was just starting to gain popularity in Japan. I wonder—did they ever sit down at a ramen stand, sipping steaming bowls of broth while soaking in the local life?
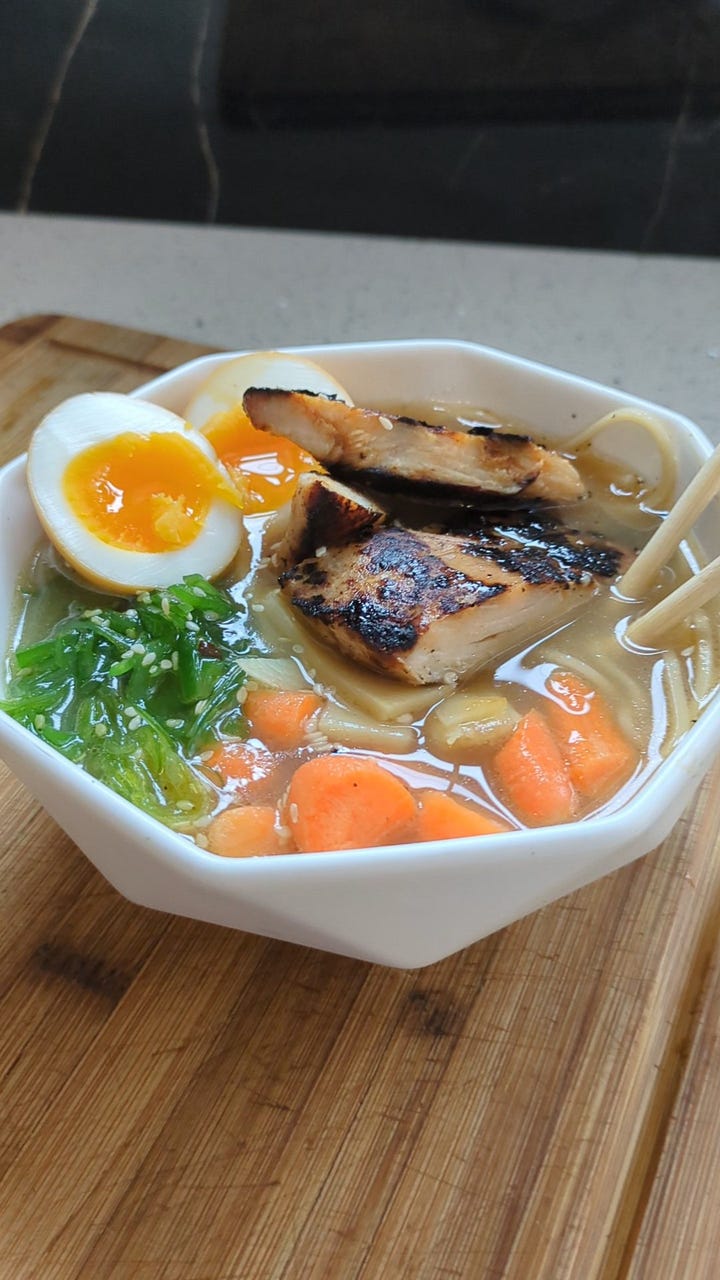
Whatever your personal ramen history, you can think of this as your guide to creating a ramen bowl at home that’s as easy or adventurous as you want it to be.
Thanks to Sarah Gavigan, whose excellent book “Ramen Otaku” guided me toward a result for this series on ramen that—much like the elements of ramen you’re about to read about—contains all the depth, grounding, good nutrients, and comfort I was looking for. It’s also the source of the simplified recipes and quotes that follow. I’m absolutely going to make it to Nashville one day and crush a bowl in your shop.
Anatomy of a Bowl of Ramen
Ramen is a much-loved and humble dish, but it’s also one of the most customizable meals you can make at home. Each element stands alone until the final moment of assembly, giving you endless options for flavor, texture, and toppings.
Let’s break it down into four main components:
Broth: the soul “…the canvas on which you will create your ramen bowl.”
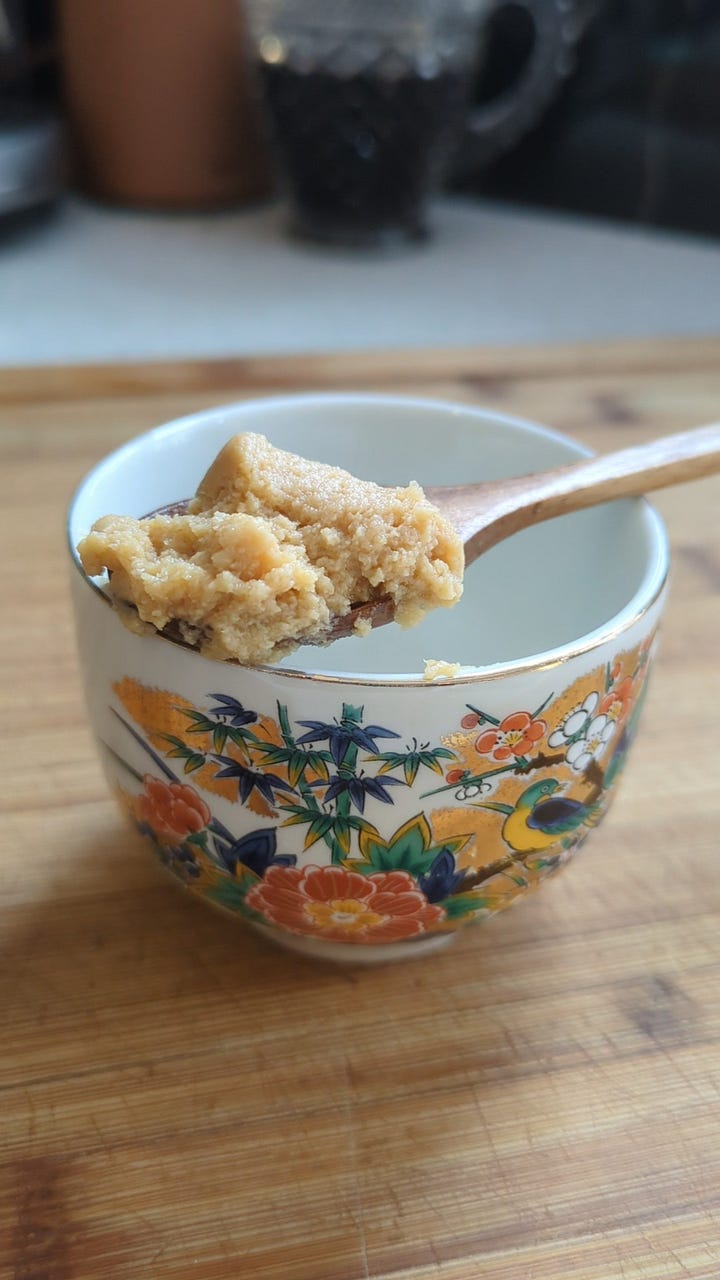
Tare: (pronounced tah-reh) the mood, the flavor “…most ramen chefs make their broth in a similar manner, it’s the highly customized, highly prized tares that set ramen chefs apart from one another.”
Noodles: The DNA. “The noodle itself is what makes ramen ramen”.

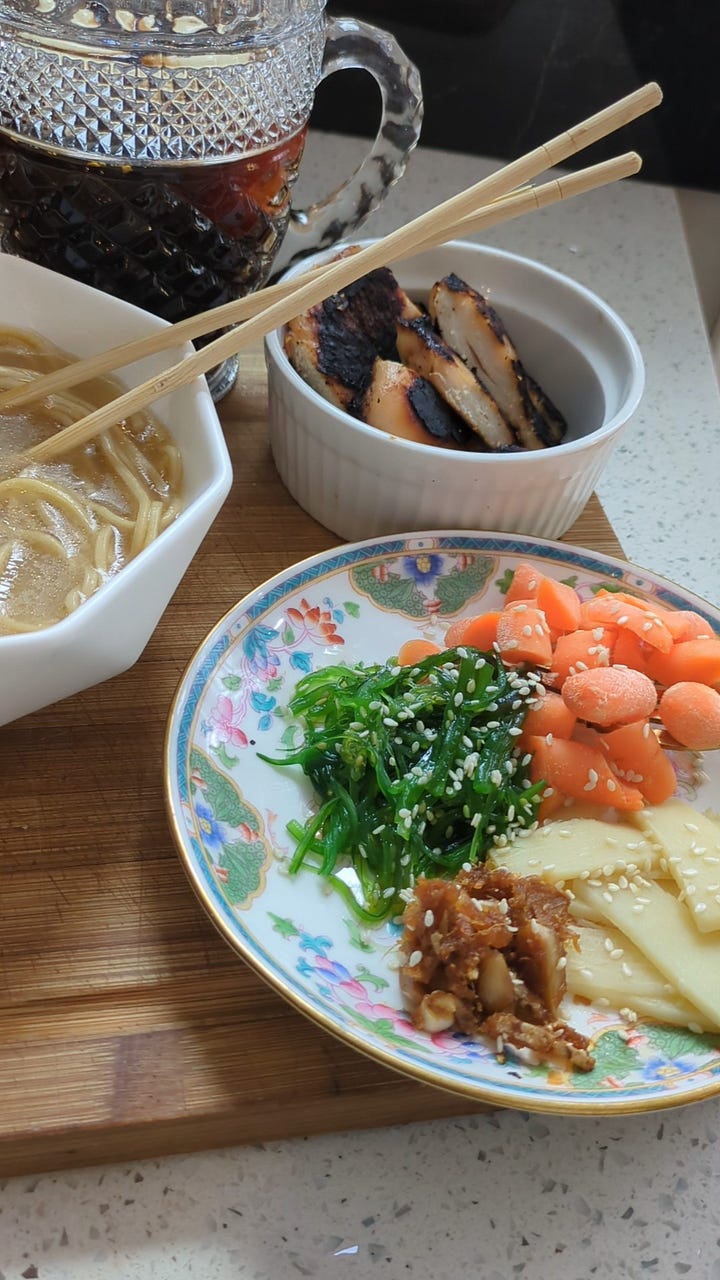
Toppings: Your creative playground. Usually these include proteins and veggies.
Then you can assemble your bowl
Here are some options to mix and match, whether you need dinner right now or you want to try simmering broth for 12 hours to maximize flavor and collagen absorption. Feel free to go all in on making one special and keep the others simple, whatever works for you.
Broth: The Soul
“…making ramen stock is the total inverse of making a stock using the French method. For ramen, I was taught to use only bones and water. Do not use mirepoix (vegetables) and seasonings…The stock is the canvas on which you will create your ramen bowl.”
Why Make Broth At Home?
You can absolutely grab pre-made ramen broth at the store to save time. But if you’ll indulge me, homemade ramen broth is one of the cheapest, easiest ways to deeply nourish your body. That lick-your-lips goodness comes from fat and collagen, which is slowly released as you simmer bones for hours. Bonus: it’s deeply satisfying and freezes beautifully for future bowls.
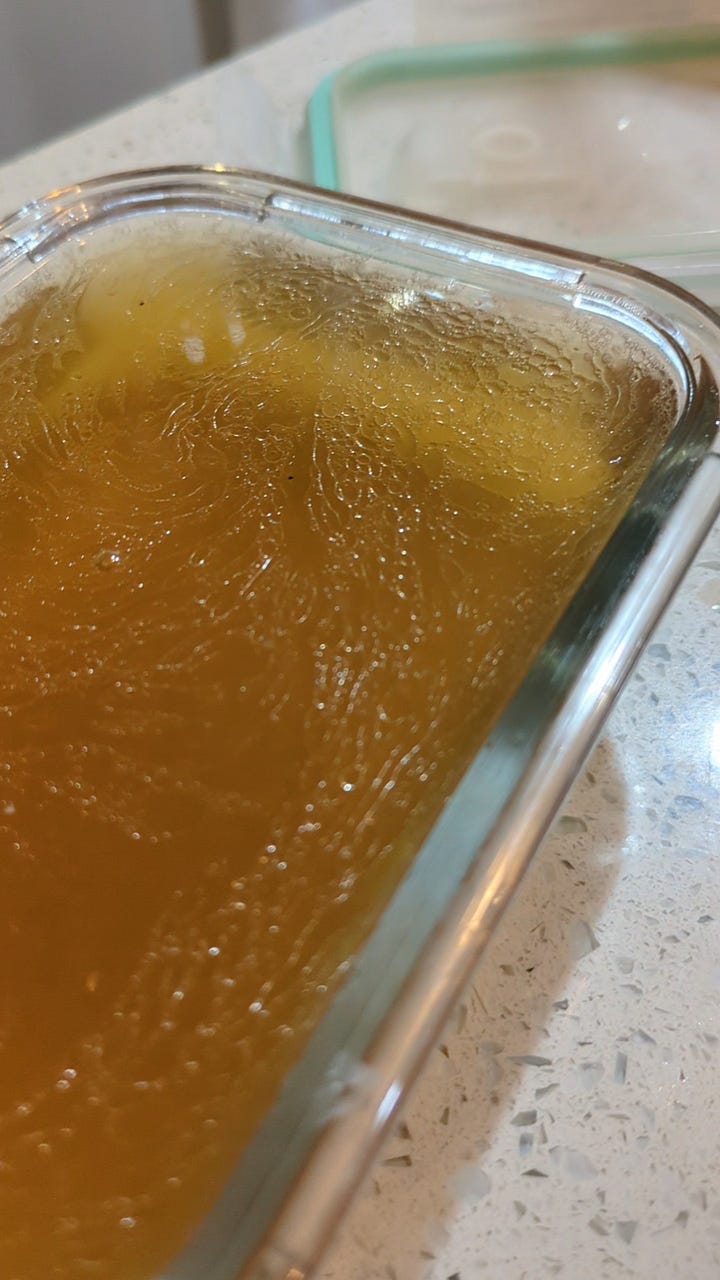

The key? Use the cleanest bones and water you can find, because you’re pulling every bit of goodness out of those bones. If you’re feeling adventurous, chicken feet are a game changer—packed with collagen and nutrients. They might sound intimidating, but many butcher counters carry them if you ask.
Chicken broth is a clean and versatile base, you can also experiment with rich tonkotsu (pork broth), flavor-packed shoyu and miso-based broths, plant-based. The methods are different, but each offers a delicious new direction for your ramen adventures.
Here’s what we’ve tried:
How to Make Chicken Ramen Broth From Scratch:
Makes about 6 cups | Keeps in the fridge for 1 week, freezer it for 2 months
What You’ll Need:
2–3 lbs chicken bones (a whole chicken works well—reserve the meat for toppings or leave it on for extra flavor) including anything with cartilage, gristle, skin, etc.
Optional: ½–1 lb chicken feet (for next-level collagen!)
Water to cover
Optional Flavor Boosters: Sliced ginger and kombu (dried kelp)
Instructions:
Blanch the Bones: Place bones and chicken feet (if using) in a pot and cover with water. As soon as it reaches a boil, remove from heat, drain and rinse the bones to remove impurities.
Pack and Gel: Return the bones to the pot, packing them in tightly at the bottom with chicken feet creating a layer on top if using. This step helps create a richer, more flavorful broth. Pro Tip: Let the bones sit in the fridge for an hour to "gel" together before simmering.
Add Water: Fill the pot with just enough water to cover the bones—about a 2:1 water-to-bone ratio.
“The lack of oxygen is the key to a beautiful, golden stock.”
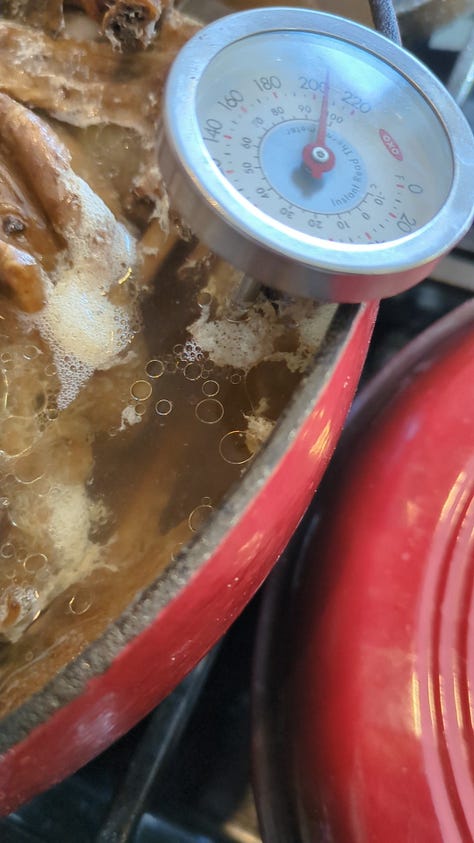
Simmer Low and Slow: Bring the water to a simmer and maintain the temperature at 180–200°F for up to 6 hours. This gentle heat slowly draws out collagen and fat, if you use the chicken feet it can create a natural "fat seal" on the surface. You’re aiming for molten stillness, not a rolling boil—no stirring needed! Resist the urge to skim the top or remove the gentle foam that forms at the top - this contains amino acids and many of the best nutrients we’re looking for.
Taste and Finish: After 5–6 hours, taste the broth. It should have a deep, pure chicken flavor. If it tastes watery, give it another hour.
Strain and Store: Strain the broth. Optional: Steep ginger and kombu for 30–40 minutes after turning off the heat for a clean, umami-rich base. Remove ginger and kombu. Store in ain airtight container in the fridge or freezer.
Speed Tip: A pressure cooker takes hours off the process and yields similar results.
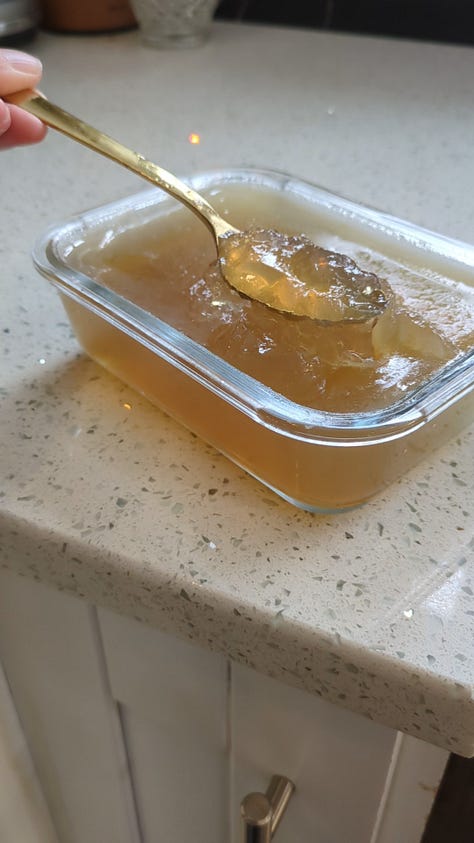
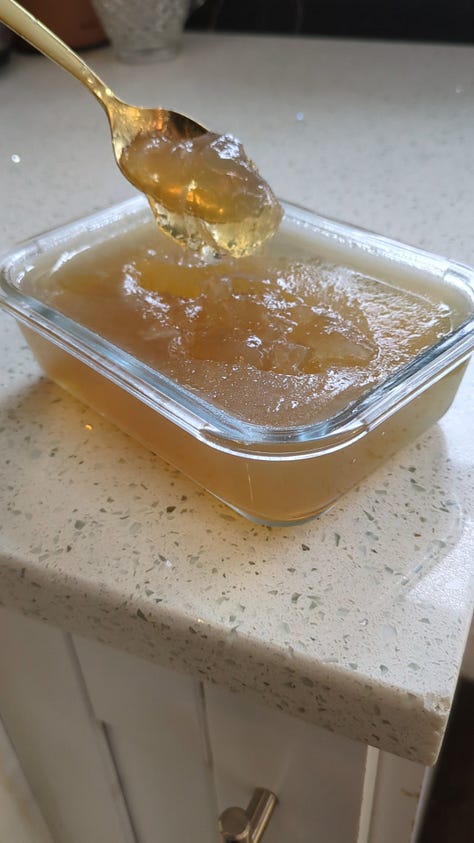
What to Expect
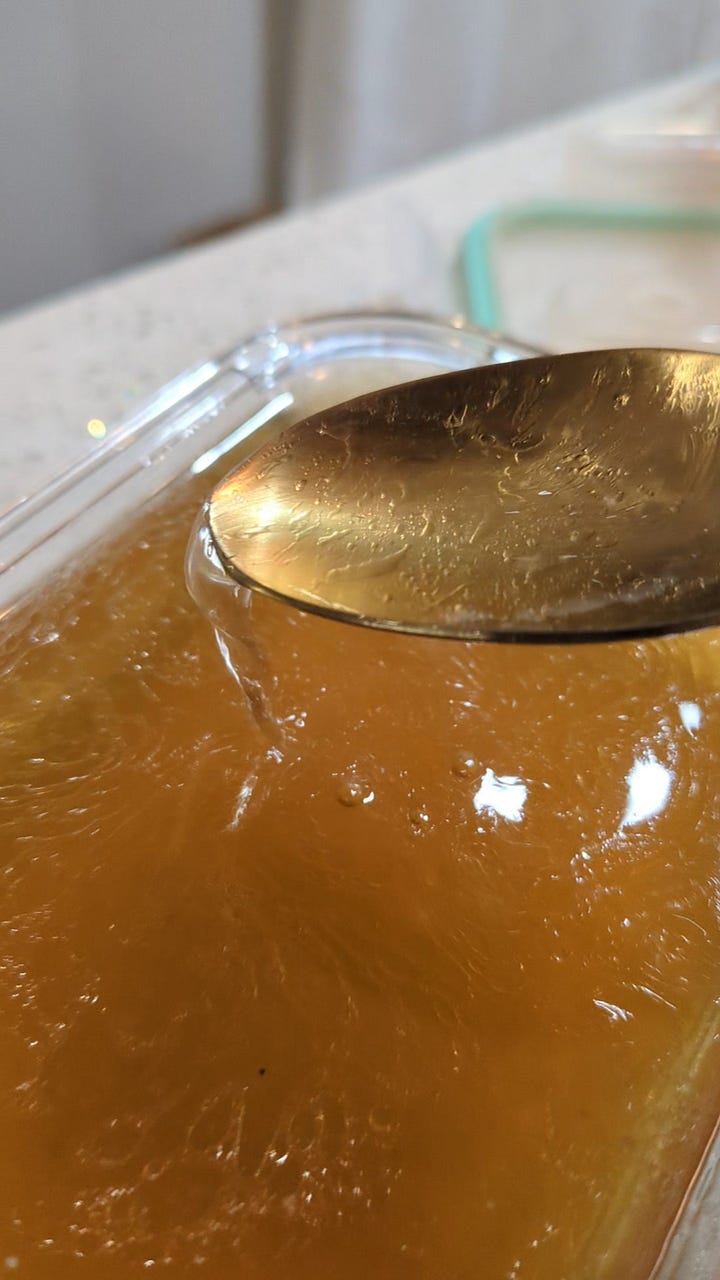
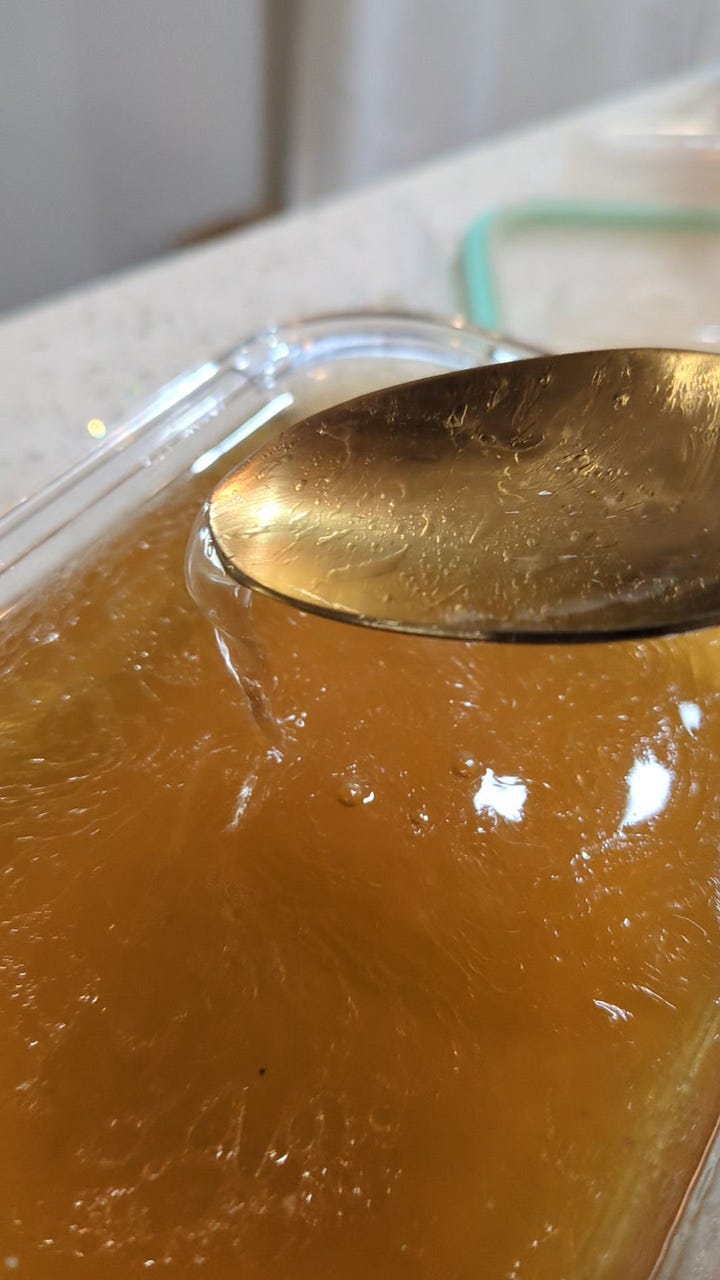
Your cooled broth should have a jiggly, jelly-like texture—that’s the collagen doing its magic! This broth is the perfect base for your ramen adventures, but it’s also great for sipping on its own or adding to other soups and sauces.
Tare: The Flavor Bomb
“Up until the moment you add tare, ramen broth is only bones and water —no salt, no mirepoix, no nothing...”
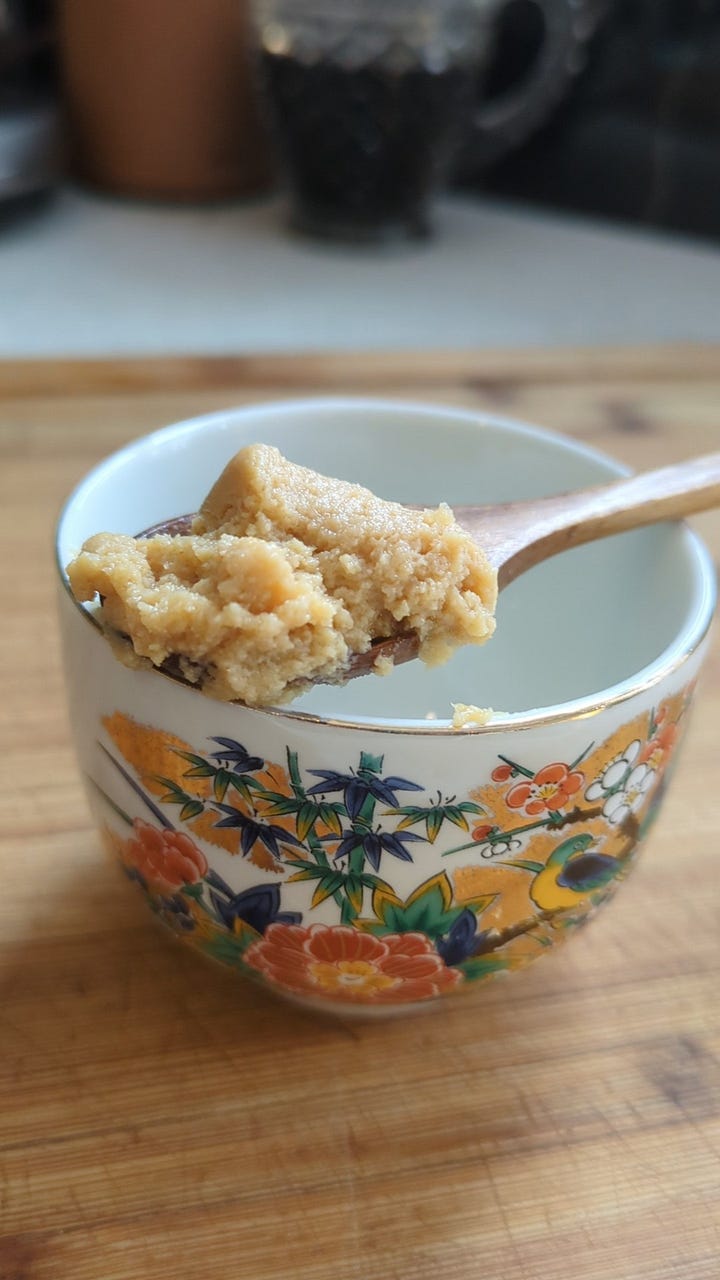
Think of tare as the sauce that transforms your broth. It’s the concentrated flavor base that can be soy-based, miso-based, or salt-based. Many ramen chefs also add flavored fats and oils at this stage to boost richness and depth. Want a spicy bowl? This is the time to bring the heat!
We tried a simple miso tare, here’s that recipe simplified from “Ramen Otaku”.
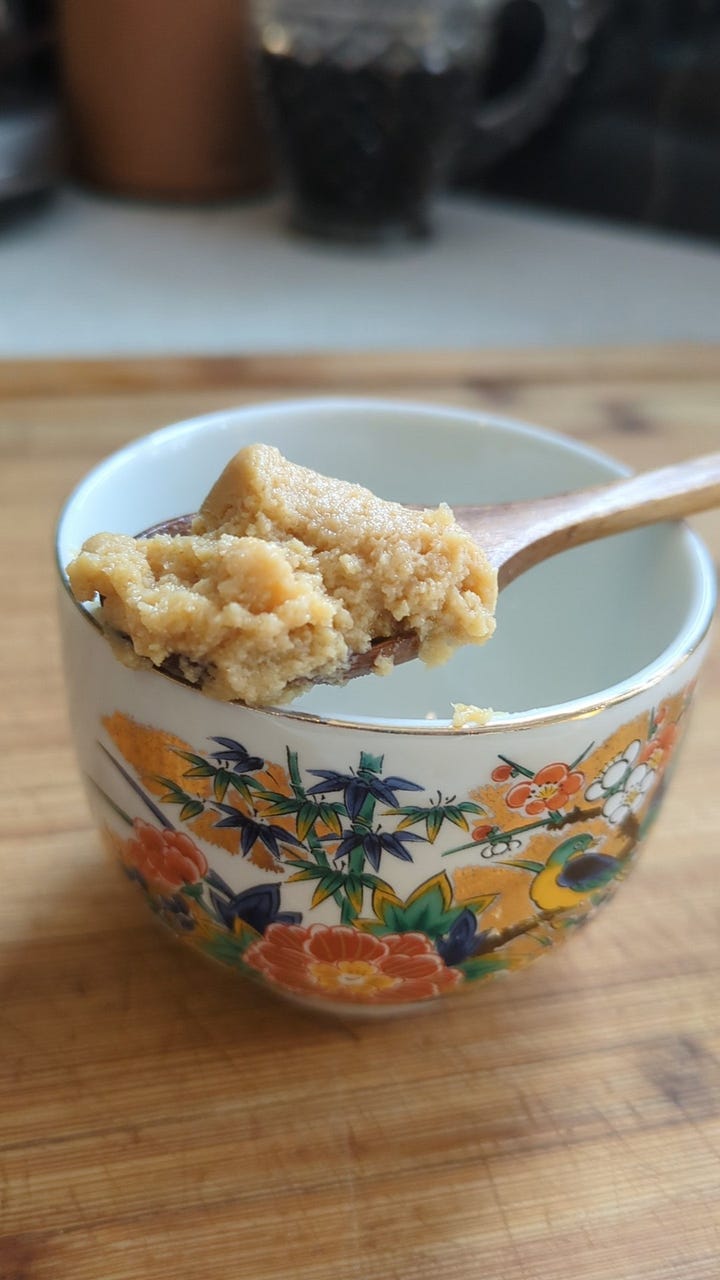
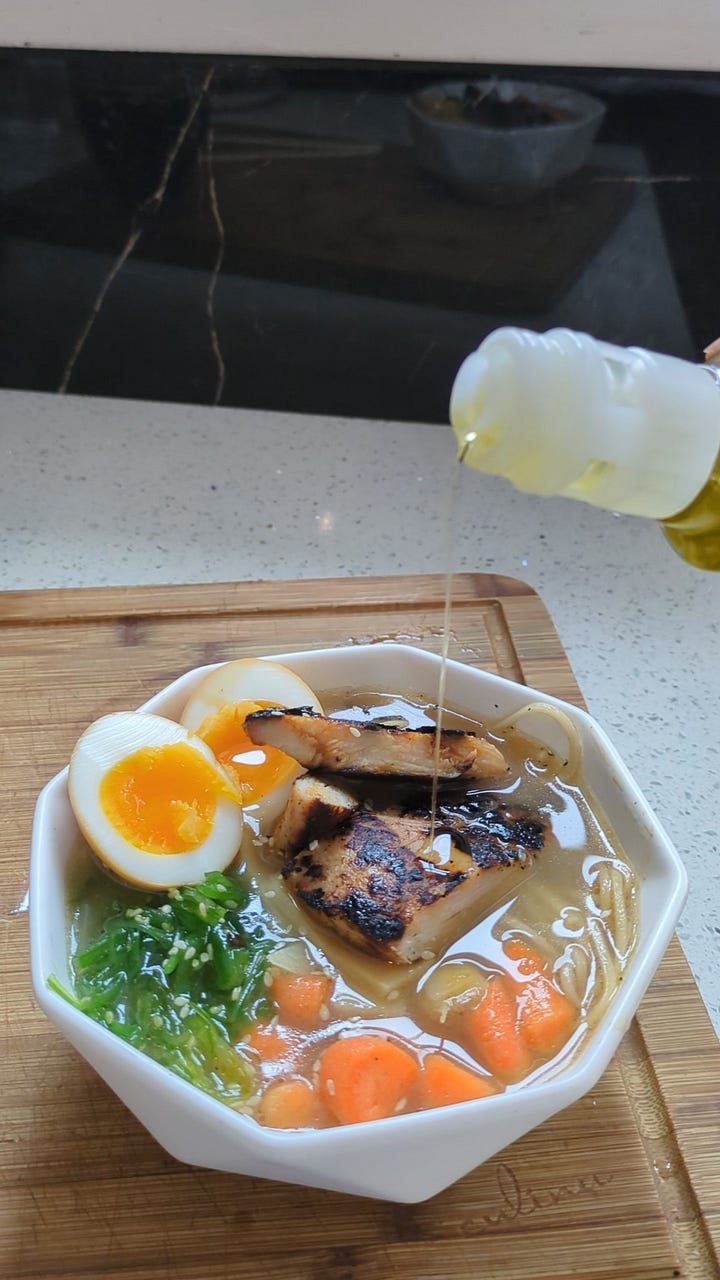
Easy Miso Tare Recipe:
Makes 4 cups | Keeps for 2 weeks in the fridge or 1 year frozen
Thoroughly mix all the ingredients in a large bowl, store in an air-tight container. Gets better after a day in the fridge. Add about 2 tablespoons to each serving bowl, or to your preferred level of saltiness.
1 cup white miso
1/2 cup kosher salt
1/2 cup water
6.5 tablespoons tahini
1/4 cup plus 1 teaspon sesame oil
2 tbsp rice vinegar
2 tsp MSG (which many folks now believe isn’t really much different or worse for you than other things like sodium in relatively small quantities)
1 tsp ground white pepper (is it just me or is white pepper like, everywhere recently?)
Noodles: The DNA of Ramen
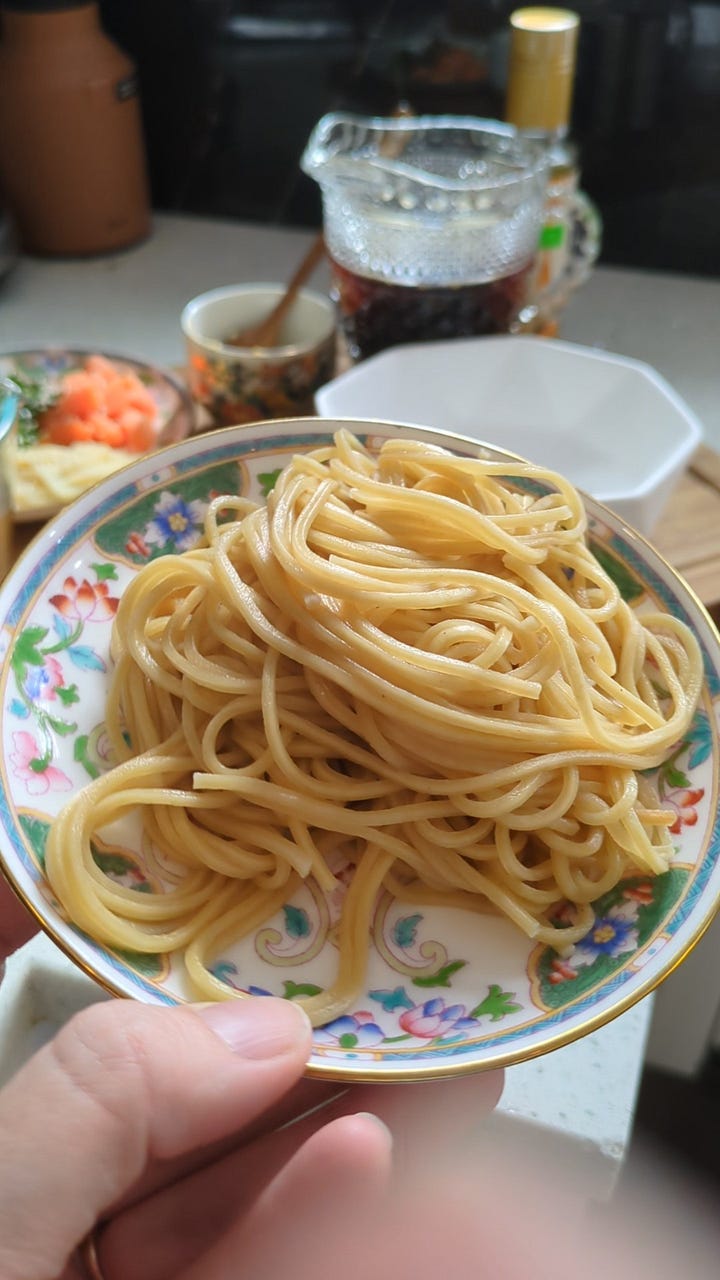
The secret to ramen noodles is their alkalinity, which gives them that signature chewy texture. This tradition likely began in a Chinese village with naturally alkaline water. Today, ramen noodles are made with kansui (alkaline mineral water) to recreate that unique texture.
Many U.S. ramen shops import their noodles from Japan, where advanced milling techniques are key to achieving the perfect chew. But no worries—you can find excellent noodles at your local Japanese or Asian market. Look for fresh, frozen, or even high-quality dried ramen noodles.
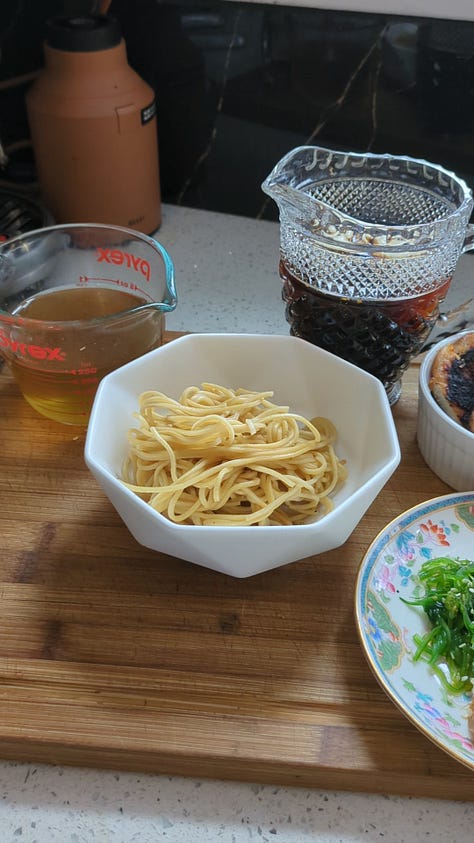
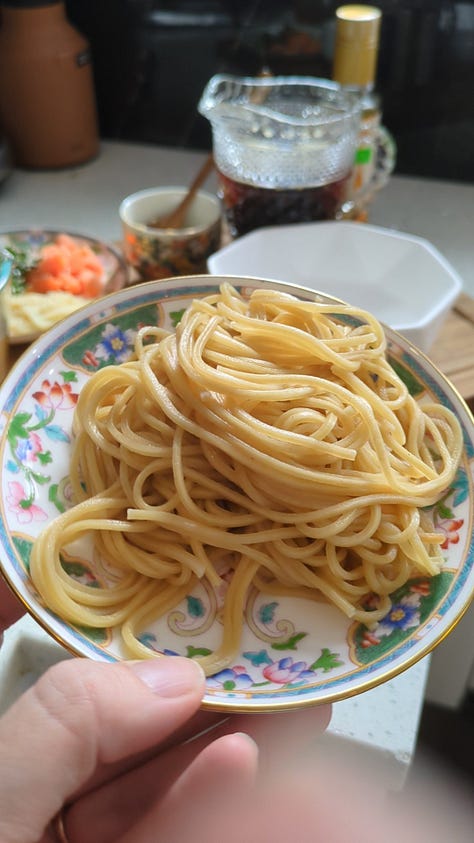
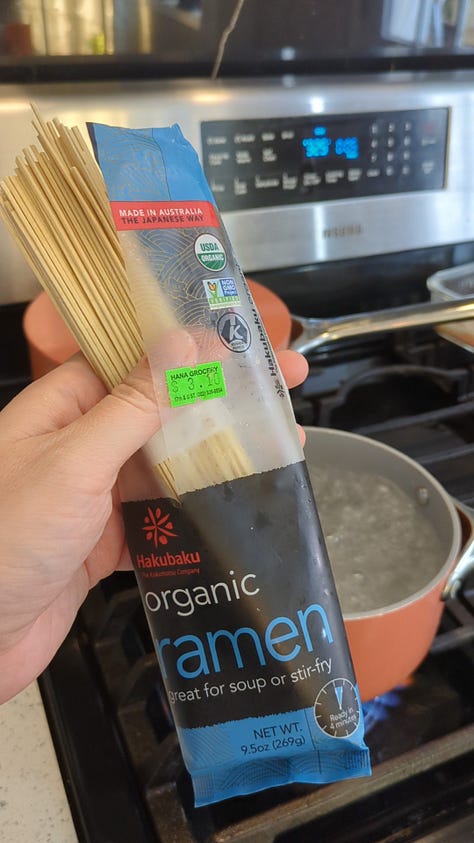
We found several options for noodles at our local Japanese grocery store including frozen and dried that landed us in a happy place between instant noodles and ordering takeout too much. You can totally use your favorite instant pack as a base and dress it up with toppings.
Toppings: Texture, Flavor, Fun!
Here’s where you can get creative—the best ramen toppings for homemade bowls can be anything from fridge leftovers to carefully marinated proteins. The most classic protein is ramen chashu (rolled pork belly). While it’s a bit more advanced (check out Ramen Otaku if you want to dive into that), there are plenty of easier ways to elevate your bowl.
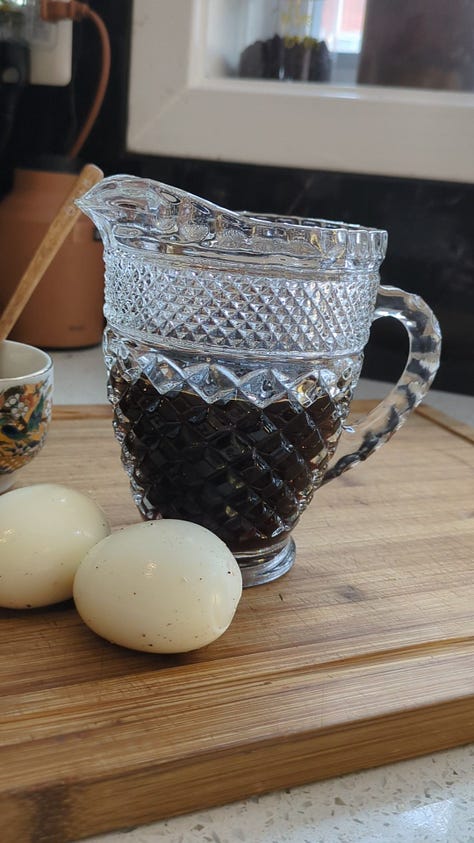

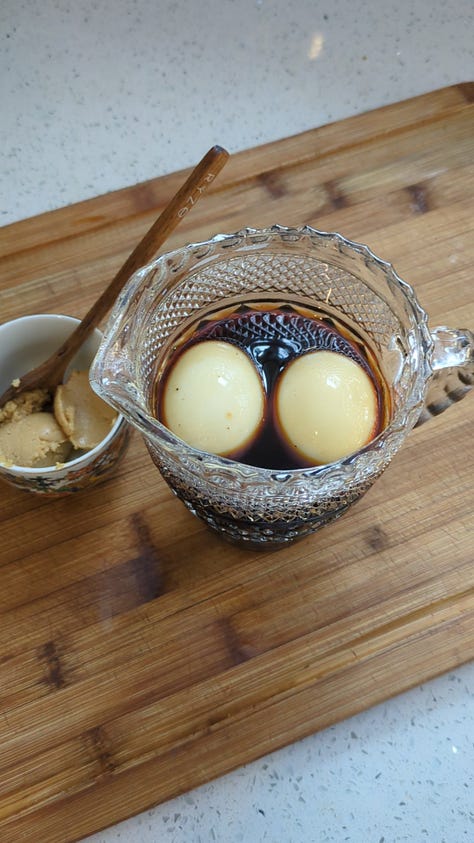
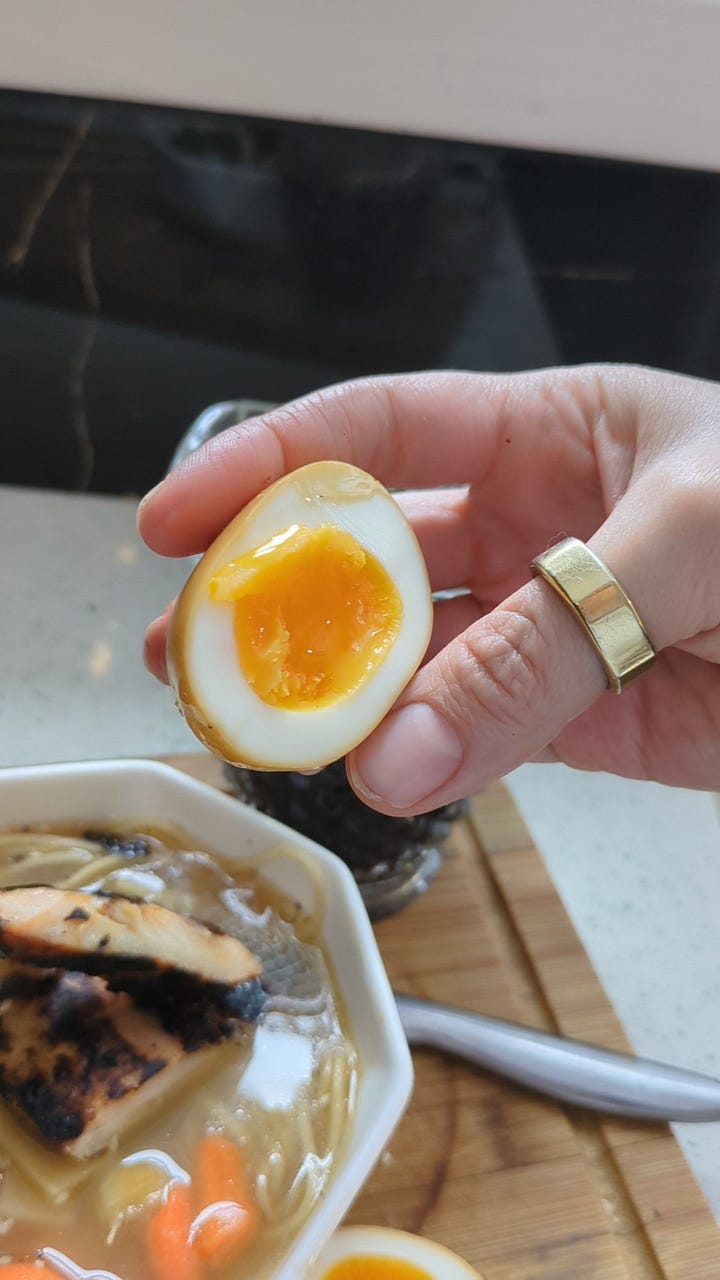
Ramen Eggs:
We’ve covered the basics already in this post last week about Jammy Eggs, but we couldn’t wait to try a soy-marinated version that will make your bowl sing.
Soy Marinade:
Makes 6 cups | Keeps in fridge for 1 month
Add 2 cups cooking sake and 1 cup mirin (sweet sake) to a medium sauce pan over high heat and boil them for 3 to 4 minutes to burn off the alcohol.
Add:
3 cups soy sauce,
3 cups peeled & minced fresh ginger,
1 cup coarsely chopped garlic and
2/3 cup sugar to the pan
Simmer for 10 minutes, stirring occasionally
Remove from heat and let it come to room temperature, strain out the ginger and garlic (save them for fried rice or anything else that sounds good to you).
Stir together soy marinade and water (1:2 ratio), enough to cover your peeled, uncut jammy eggs. Let them soak up to 12 hours.
Why It Works:
This marinade infuses your eggs with a perfect balance of salty, sweet, and savory flavors, plus a touch of gingery warmth. You can also use it for tofu, chicken, or vegetables.

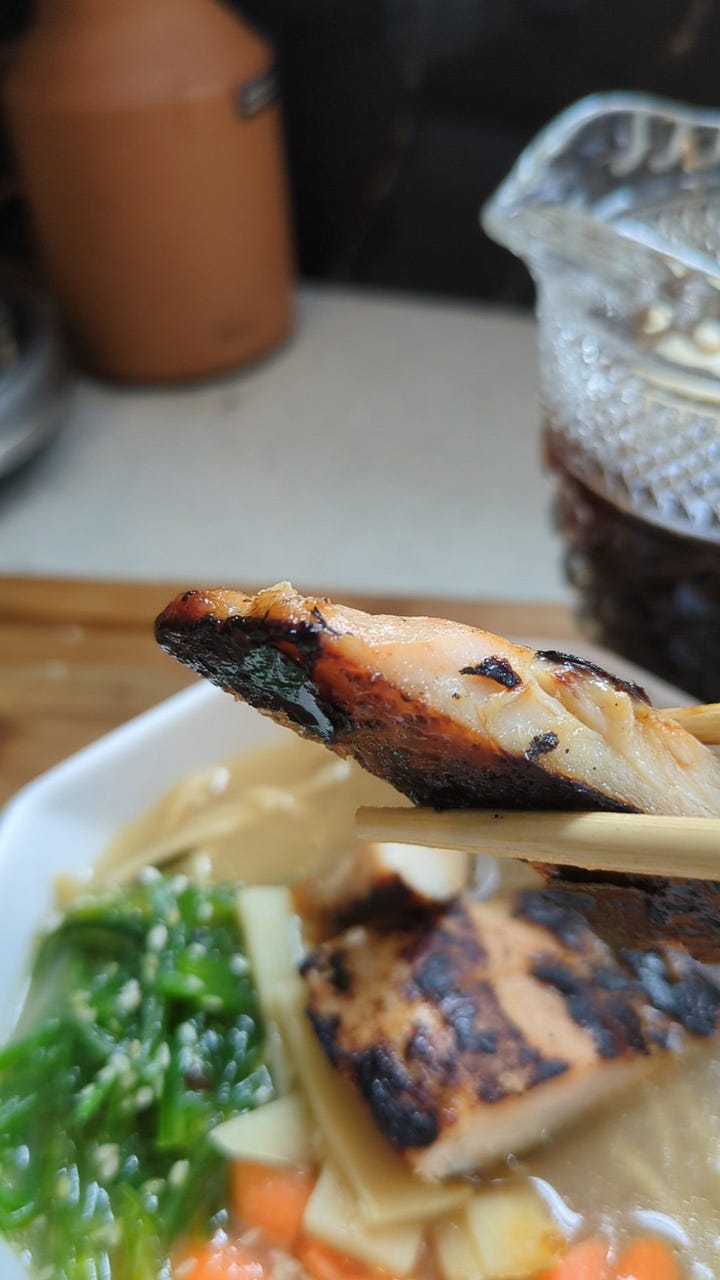
Koji Chicken: Umami Powerhouse
Shio koji (fermented rice and salt) is a game-changer for tenderizing and boosting umami. 24-hours in this marinade takes any humble scrap of chicken or beef into something luxurious.
”One of my favorite tricks is to take the gnarliest piece of beef I can find, put this on it to marinate for twenty-four hours, then sear it in a pan…It tastes like it has ten pounds of butter on it; the meat tastes like Wagyu.”
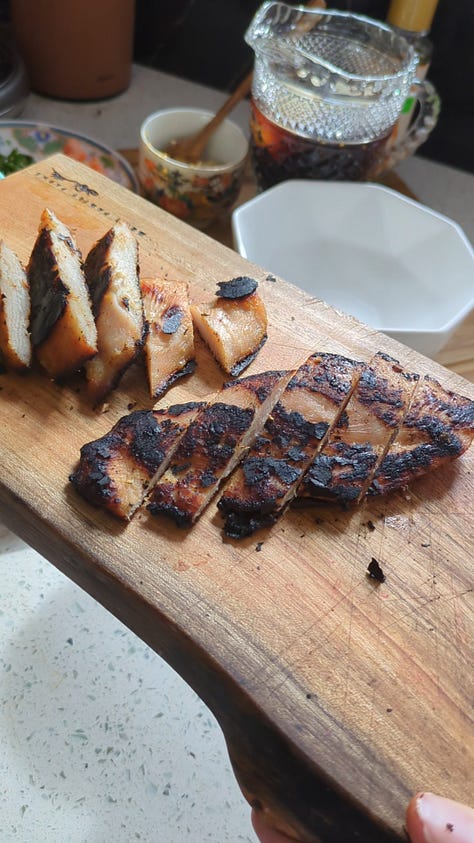
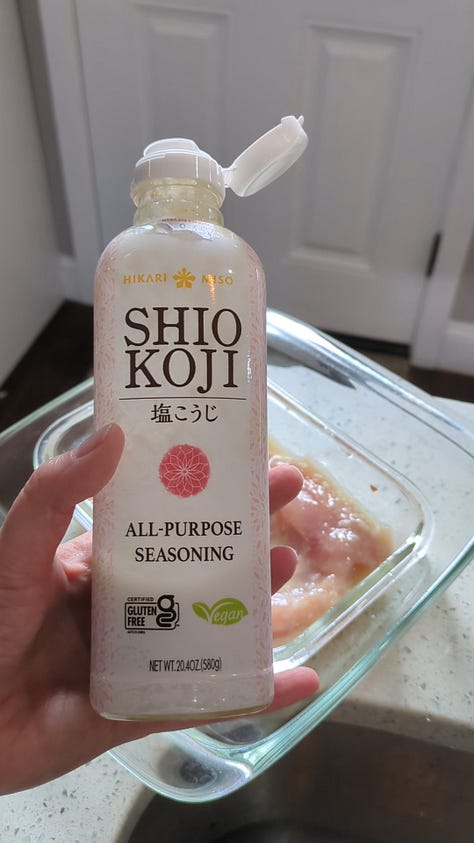
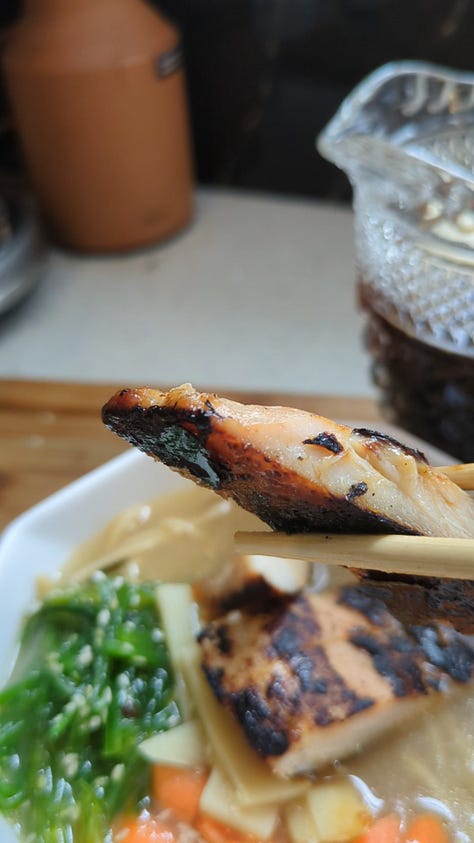
Marinate uncooked boneless chicken (breast or thigh) with shio koji in the fridge for 2-24 hours.
Preheat your oven to 325°F, lightly rinse off the koji and pat chicken dry.
Sear and Roast:
If you have an oven-safe skillet, sear the chicken over medium-high heat for 5 mins each side
Transfer skillet to the oven bake for 10 minutes, or until the internal temperature hits 175°F.
Let it rest 10 minutes to keep it sweet and juicy (this is really good life advice if you think about it).
Veggies: Crunch, Color, and Nutrients
Just a few ideas - we’re looking for some extra crunch, nutrients and whatever floats your boat or needs to be used up in your kitchen:
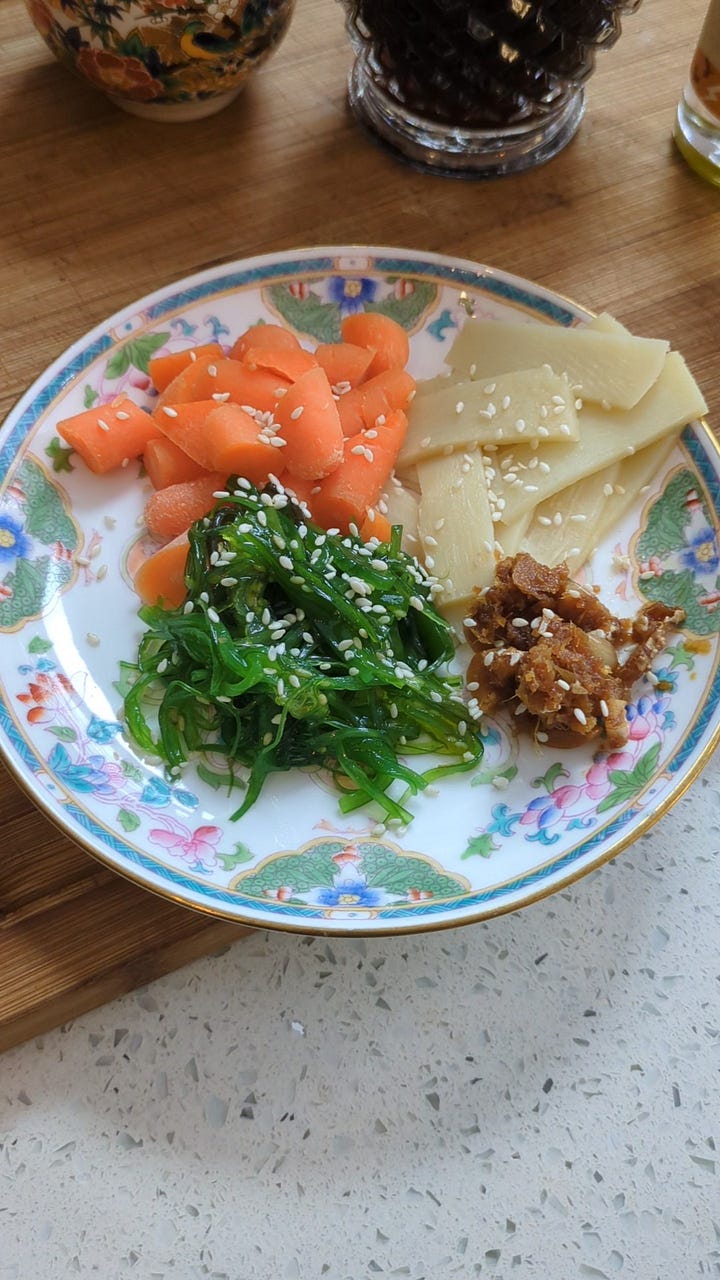
Scallions: Thinly sliced for a sharp, fresh bite.
Bamboo Shoots: Classic, slightly crunchy, and umami-packed.
Roasted Sweet Potato: Adds sweetness and heartiness.
Mushrooms: Shiitake, enoki, or sautéed creminis for an earthy vibe.
Cabbage: Lightly sautéed or raw for crunch.
Seaweed: Nori sheets or wakame for briny goodness.
Greens: Spinach, bok choy, or kale—blanched or wilted.
Sprouts: Mung bean, radish, or microgreens for freshness.
Garlic Chips: Thin-sliced and fried until golden for an aromatic boost.
Corn: Sweet and juicy, especially if you roast or char it first.
Assembly: Build Your Bowl
Once you have all your components ready, it’s time to build your bowl:
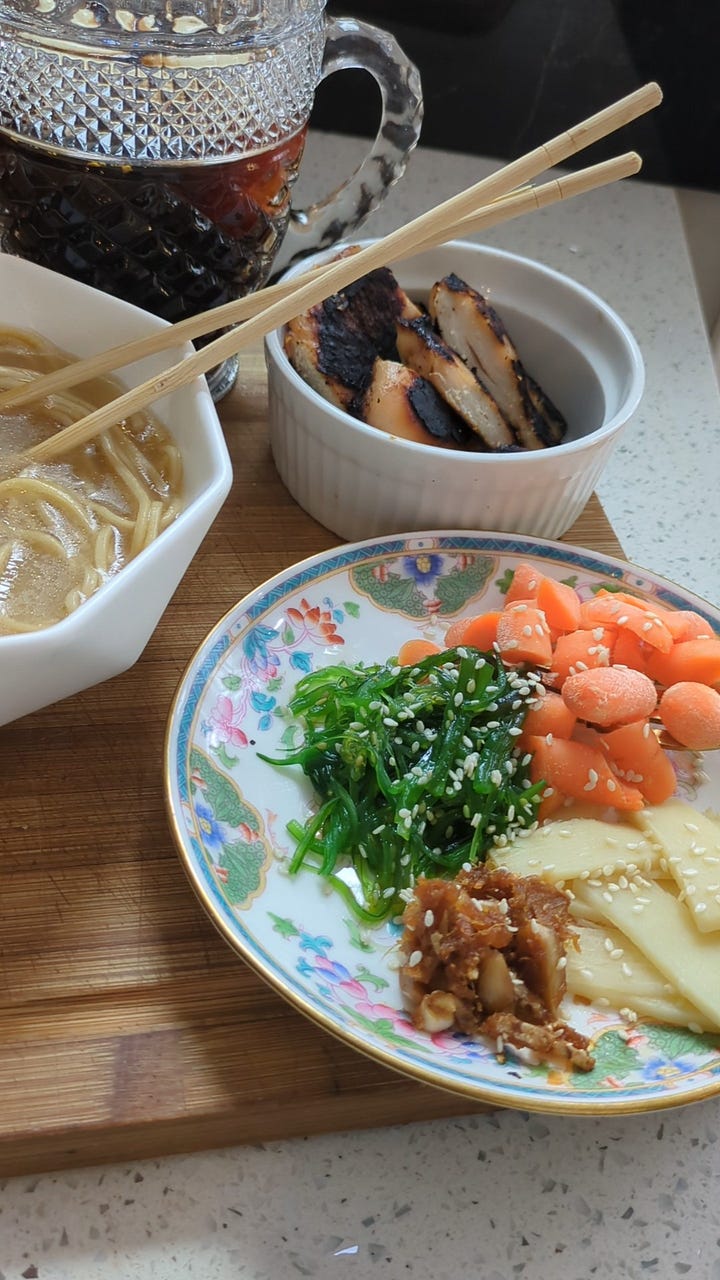
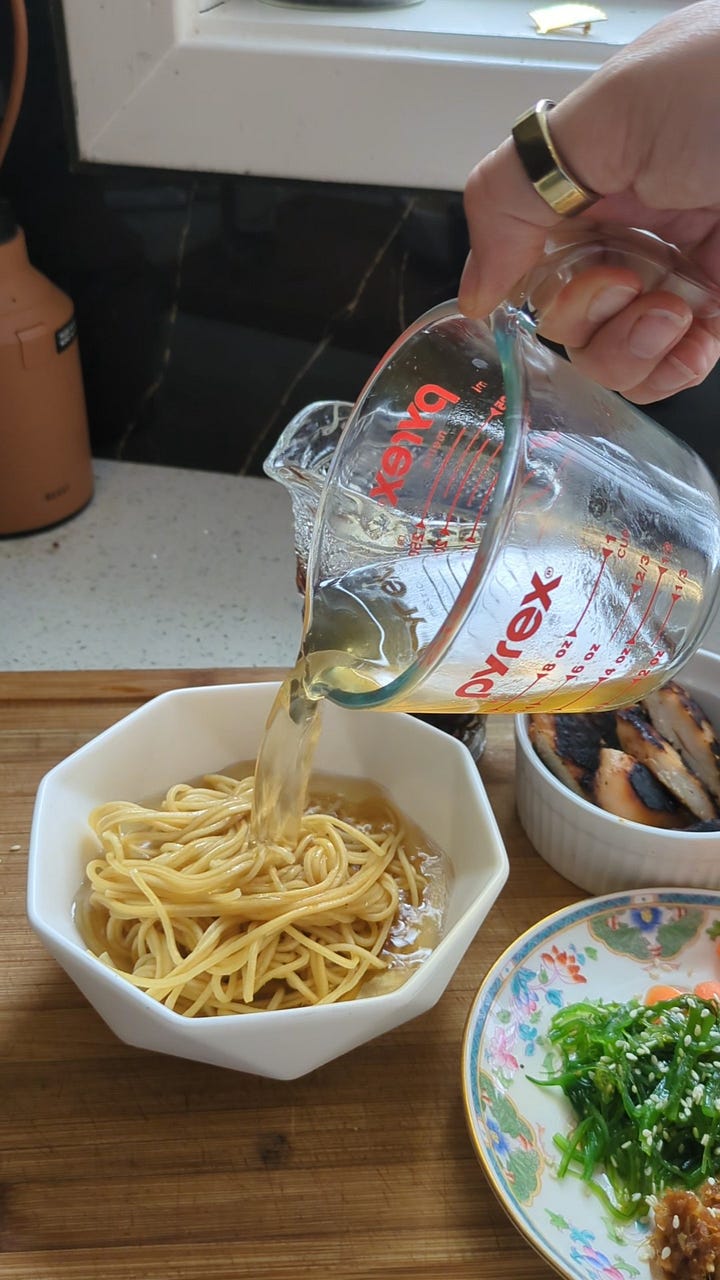
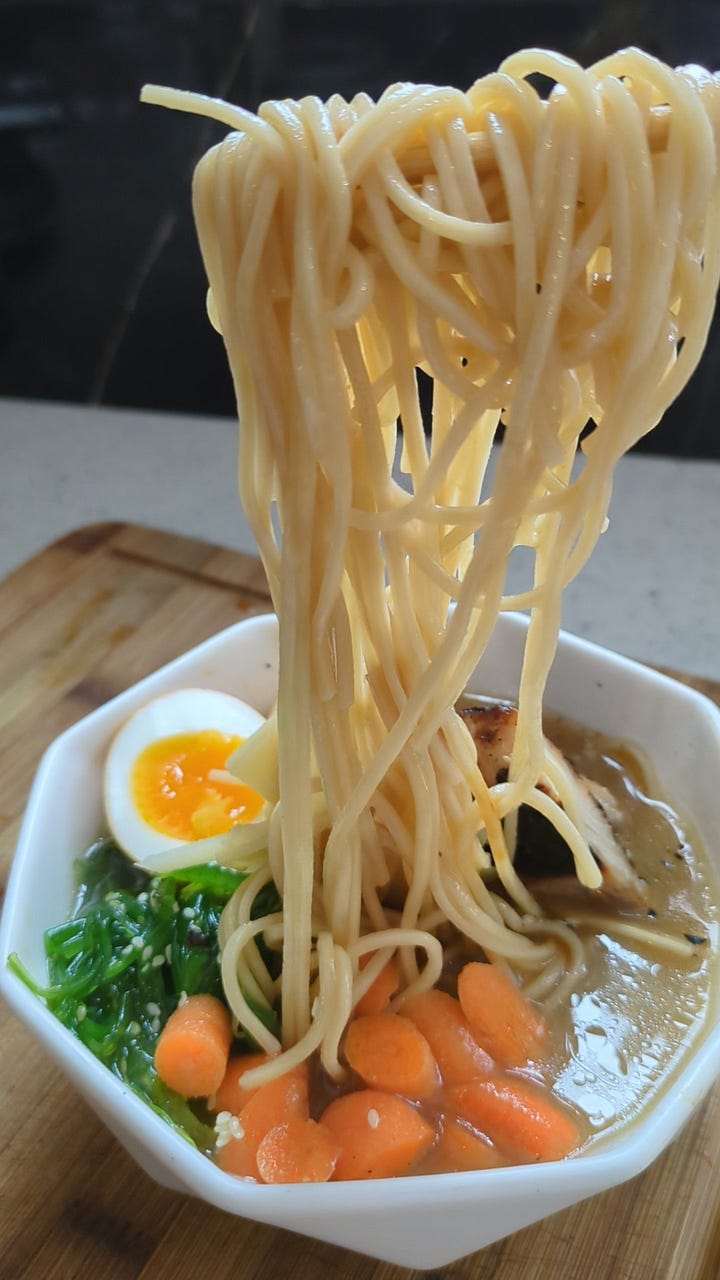
Heat your broth to a low boil.
Add tare (and any flavored oils) to each serving bowl.
Cook the Noodles: Follow the package instructions, but transfer the noodles to your bowl when they’re 30 seconds from done. This prevents overcooking.
Ladle in the hot broth.
Gently Stir flavors with your utensil to coat the noodles
Add toppings and serve!
Don’t forget to slurp—this aerates the broth and enhances the flavor, similar to tasting wine.
Conclusion
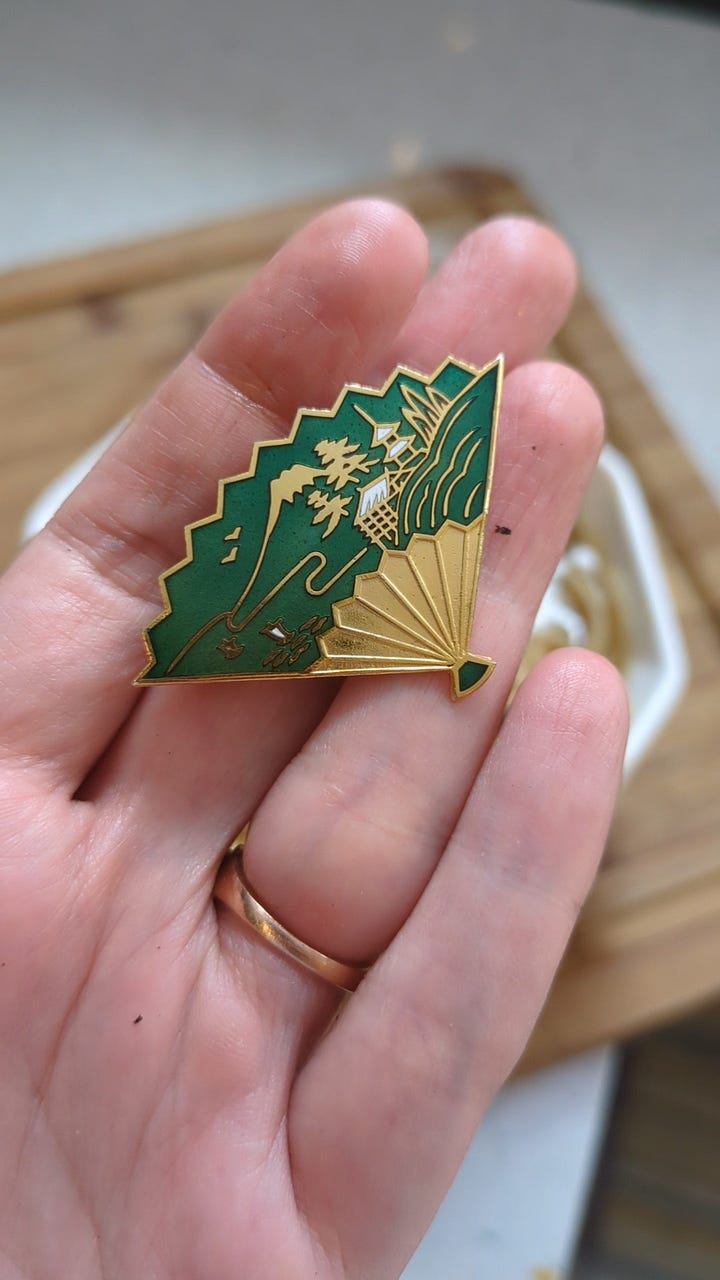
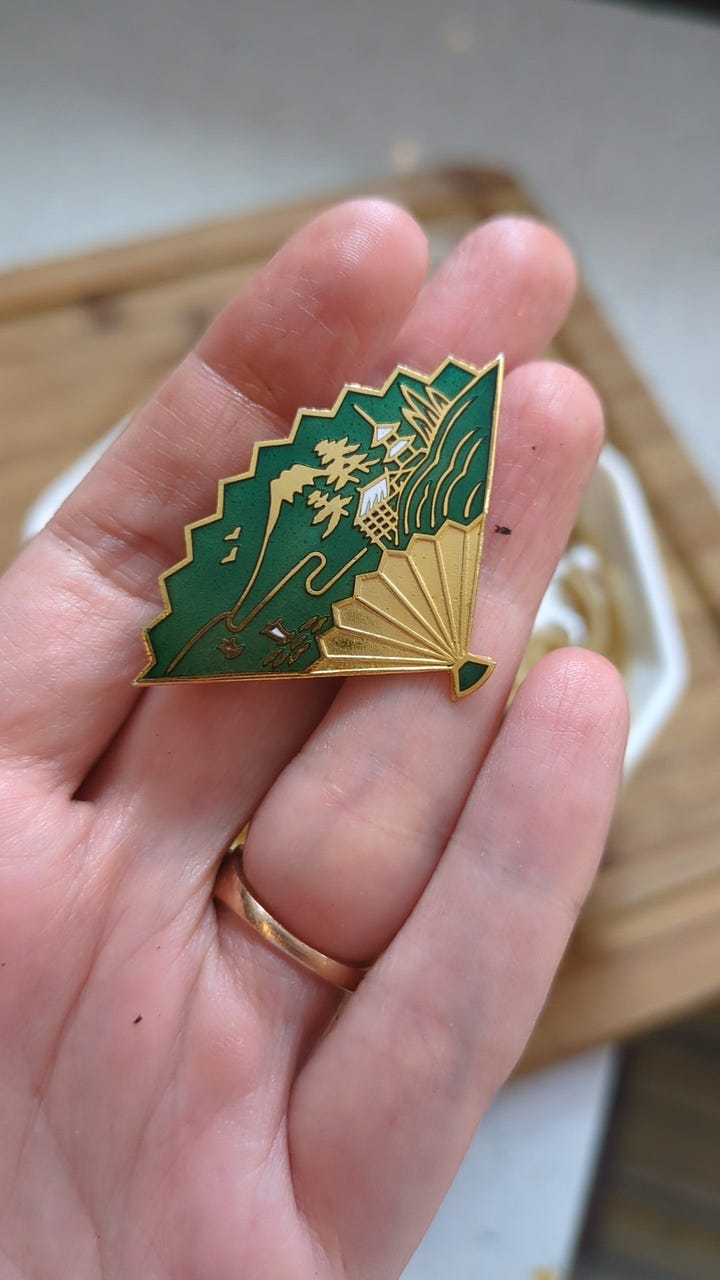
Ramen isn’t just comfort food; it’s a 200-year-old tradition born from cultural exchange, shaped by creativity and resilience. For me, it’s a thread in my family’s story, like the vintage Japanese brooches tucked in my closet—keepsakes my grandma brought back from her travels. A reminder that food has the power to connect people across time, cultures, and generations.
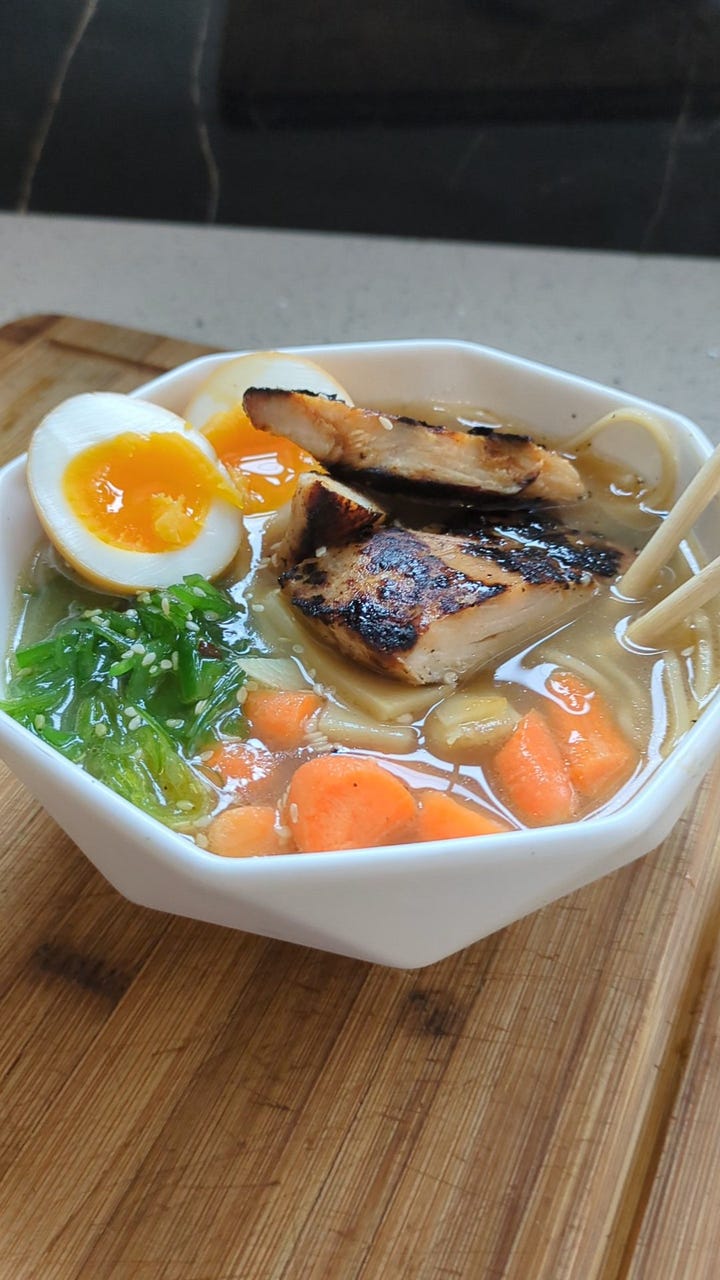
The humble bowl of noodles has a fascinating past—and maybe now, a new place at your table. Whether you’re simmering broth for hours or whipping up a quick weeknight fix, ramen always has something to offer.
But wait—our ramen adventure isn’t over yet! Next up, I’ll reveal the most unforgettable bowl we’ve tasted in DC. Trust me, you won’t want to miss it.
Thanks for reading and happy slurping! 🍜
If paid membership isn’t in the cards for you right now (everything is expensive right now, we get it) a one-time donation in any size helps us keep the feast going.


